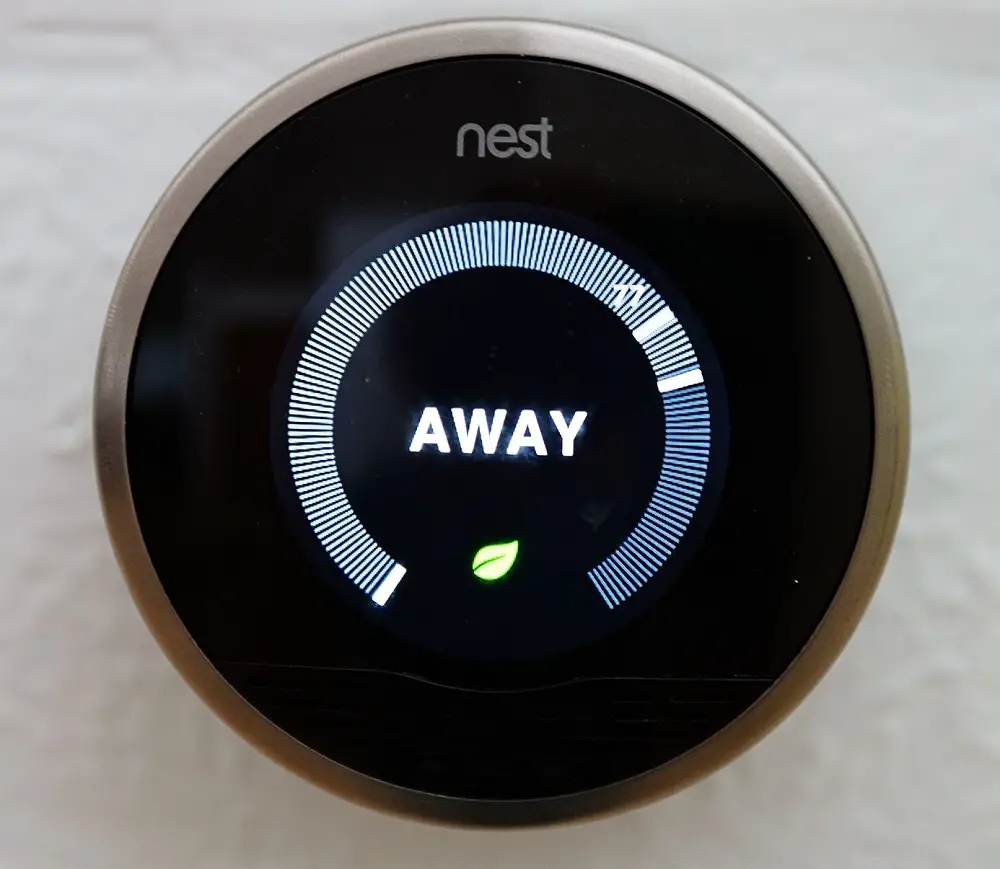
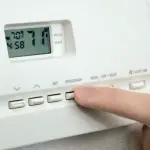
If you own a Nest thermostat, you may have experienced a message displaying “Delay” at the bottom of the device. There is no need to panic as this is a common issue with Nest thermostats.
Most of the time, this is simply a power issue that can be remedied with some easy steps. The main way to solve this problem is to fix the wiring or, in particular, the common C wire.
Nest thermostats come with rechargeable lithium-ion batteries. Every time you run your heating or cooling system, your Nest device will then recharge itself. However, you can consume a lot of energy if you do not turn your heating or cooling system on regularly.
When your Nest thermostat is not used often, it will consume energy from your furnace through a heating wire. While this isn’t an issue with some systems, it can cause a range of problems in many. The best solution is usually to install a C wire.
Today, we are going to discuss the steps on how to fix a Nest thermostat that is displaying the “Delayed” message. The good news is that a delayed start of cooling is a sign that your thermostat is working properly.
It is usually just a protective measure by your thermostat or HVAC (Heating, Ventilation, and Air Conditioning) system. However, when the message remains instead of disappearing after a short time, it could hint toward a more serious issue that needs investigating.
To help you get to the bottom of this problem, let’s look at some of the reasons why your Nest thermostat has suddenly gone into a delayed mode.
A lower amount of power
Compared to older thermostats, Nest models provide a lot more functions. However, with more features and functions, a Nest thermostat requires more power to run properly.
This is why they are built with an integrated rechargeable battery that recharges the thermostat every time your heating or cooling system is run.
Unfortunately, these batteries can sometimes drain too quickly. This is especially true if the thermostat uses motion sensors, Wi-Fi connectivity, or different smart functions.
If the battery begins to drain, your thermostat will not get enough power to run sufficiently. Therefore, problems can start to arise such as intermittent cooling and heating, as well as inconsistency in the fan’s operation.
As we stated, one of the main reasons for a delayed Nest thermostat is down to the C wire. So, let’s take a deeper look into this component.
C-wire
While the C wire is an important part of your Nest thermostat, the device can technically run without one. To do so, the thermostat draws a charge every time the heating or cooling system is activated.
However, on some occasions, the thermostat may not be able to draw enough charge from these two systems. The result? You guessed it; the dreaded “Delayed” message.
When this delayed message appears, you will need to get to work so your thermostat and heating/cooling system can begin to operate again. To do this, you will have to check the C wire on the thermostat.
You will have to pull out the device’s display and find the panel labeled “C.” When you have found this, you may have to install a blue wire, especially if the thermostat is experiencing low power problems.
You may be wondering what the C wire is for. Let’s explain its purpose and how it works.
Nest thermostats generally get enough power from your heating or cooling system. It works by drawing in this power from a wire that is connected to your heating (Rh) unit and/or your cooling unit (Rc).
However, issues can arise with this process and setup. The main problem is that the Nest thermostat can not get enough power. It needs continuous flowing power in order to work properly.
Without this, the thermostat will slow down and eventually display the “Delayed” message. This power can only occur when the wires are switched on in the same way as when your heating is activated.
Another reason for the delayed message could be down to the thermostat’s internal battery. Fortunately, you can inspect the current voltage of this battery on your Nest thermostat display. Various actions require a certain voltage to activate them.
If the voltage is too low and falls, certain features such as software updates, Wi-Fi services, and motion sensors can not work. This is known as a low power impact. When the voltages are lower, your thermostat will also preserve its battery.
One way it does this is to disable the screen so you can not read the display.
Again, this leads us back to the C wire. This wire works with your Nest thermostat to supply continuous power. If your Nest thermostat has a C wire, its electricity then has a clear path to flow through.
That means there will be no need to wait for any of the wires to be switched on and the power performance remains continuous and strong enough.
Installing a C wire
While many thermostats already have C wires that connect themselves to a furnace, yours may not. If this is the case, there are a few options to consider:
- Install a C wire adaptor
- Hardwire a C wire or use a common maker
- Use your G wire as a C wire
Install a C wire adaptor
So, you’re missing the C wire. One option is to use a C wire adaptor. Such adaptors are pleasingly easy to install and simple to test with your Nest thermostat.
These adaptors are plugged into a nearby power socket and provide power to your Nest thermostat. And don’t worry about unsightly wiring hanging around the thermostat. This can be hidden using a concealer.
These adaptors are wired directly into your thermostat. Doing this should solve your “Delayed” alert. Thankfully, most C wire adaptors have an easy-to-understand manual so you will know exactly how to install it properly.
Hardwire a C wire
Another option is to hardwire a C wire yourself. When you install a C wire, it usually involves connecting both of the ends to your HVAC system. In most cases, one end will connect to the furnace while the other connects to your Nest thermostat.
Just make sure that you turn off all the power to the equipment before you begin the installation process.
This job can be quite difficult and on a large scale. This is because the wiring is probably inside plastered covered walls. This is why we recommend consulting a professional to get the installation done correctly.
If this sounds like a bit much, you could wireless connect a C wire using a sender and receiver. These Common Makers could solve your “Delayed” message as well as save a lot of money and DIY work.
Use the G wire as a C wire
The green G wire allows your blower fan to be controlled independently. However, many make the mistake of confusing the G wire with the ground wire.
If you go down this route, you will need to remove the G wire from its G terminal. This is located inside the thermostat. Then, you will need to install it in the same way as you would with a C wire.
The same process will also need to be done at the furnace. This option is a cheap and easy method. It should provide continuous power to your thermostat. The only drawback is that you will lose independent control over your ventilation fan from then on.
Before you remove the G wire, you must ensure the fan is not connected with any other form of equipment. Also, you may need to connect a jumper cable to the G terminal and Y terminal once they are empty.
If you like to use the “fan-only” mode, this option should be avoided.
In conclusion
It can be quite daunting to see that “Delayed” message suddenly appear on your Nest thermostat’s display. While it may look and seem like a significant problem, it is actually a completely normal function of your thermostat and HVAC system.
If it only appears for a short amount of time, it shouldn’t be a cause for alarm. But if this becomes irregular, happens for too long, or you notice little change in your home’s temperature, then there could be a bigger issue to deal with.
By checking out the C wire, you should usually find the cause of the issue. With regular maintenance for your AC unit, you shouldn’t experience issues very often.

